flutter 뚝딱뚝딱...
2024. 3. 10. 08:55ㆍ카테고리 없음
1. 텍스트에 스타일 설정하기
Text(style: TextStyle(key: value, key: value, ...))
2. 색상 설정하기
1. Colors.색상
2. Color(0xff색상코드)
3. Color.fromRGBO(r, g, b, opacity)
3. 버튼 넣기
1. TextButton()
2. IconButton()
3. ElevatedButton()
import 'package:flutter/material.dart';

void main() {
  runApp(const MyApp());
}

class MyApp extends StatelessWidget {
  const MyApp({super.key});

  @override
  Widget build(BuildContext context) {
    return MaterialApp(
      home: Scaffold(
        appBar: AppBar(
          title:Text('야옹앱', style: TextStyle(color: Colors.white)),
          backgroundColor: Colors.pinkAccent,
        ),
        body: SizedBox(
          child:
            ElevatedButton(
              child: Text('야옹'),
              onPressed: (){},
            )
        ),
      )
    );
  }
}
4. AppBar 디자인하기
- title: 왼쪽 제목
- leading: 왼쪽 아이콘
- actions: 오른쪽 아이콘 목록
return MaterialApp(
home: Scaffold(
appBar: AppBar(
title:Text('야옹앱', style: TextStyle(color: Colors.white)),
backgroundColor: Colors.pinkAccent,
leading: Icon(Icons.star),
actions: [Icon(Icons.star), Icon(Icons.star), Icon(Icons.star)],
),
body: SizedBox(
child:
ElevatedButton(
child: Text('야옹'),
onPressed: (){},
)
),
)
);
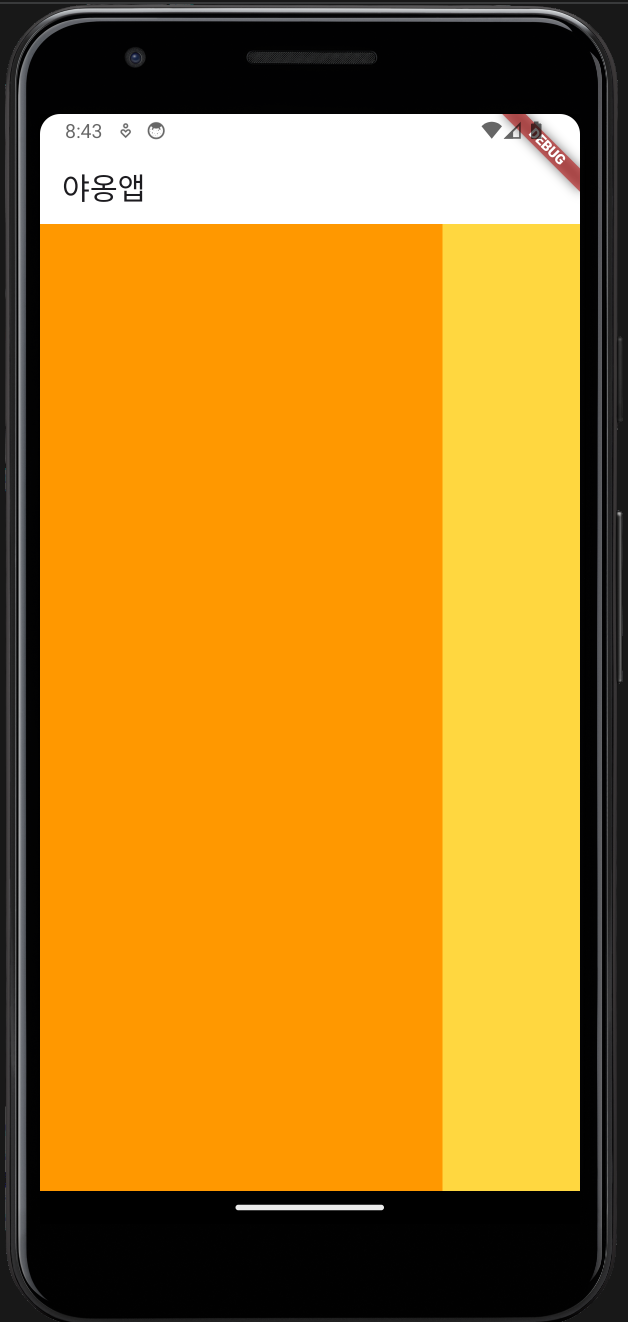
}5. 비율로 배치하기
1. Flexible(child: 자식, flex: 비율)
return MaterialApp(
  home: Scaffold(
    appBar: AppBar(
      title:Text('야옹앱'),
      backgroundColor: Colors.white,
    ),
    body: Row(
      children: [
        Flexible(child: Container(color: Colors.orange), flex: 4),
        Flexible(child: Container(color: Colors.amberAccent), flex: 6),
      ],
    )
  )
);
2. Expanded(child: 자식) === flex: 1인 Flexible 박스
return MaterialApp(
  home: Scaffold(
    appBar: AppBar(
      title:Text('야옹앱'),
      backgroundColor: Colors.white,
    ),
    body: Row(
      children: [
        Expanded(child: Container(color: Colors.orange)),
        Container(width: 100, color: Colors.amberAccent),
      ],
    )
  )
);
6. Flutter DevTools
콘솔 창에서 하늘색 버튼 클릭
브라우저에서 상세 정보 확인 가능

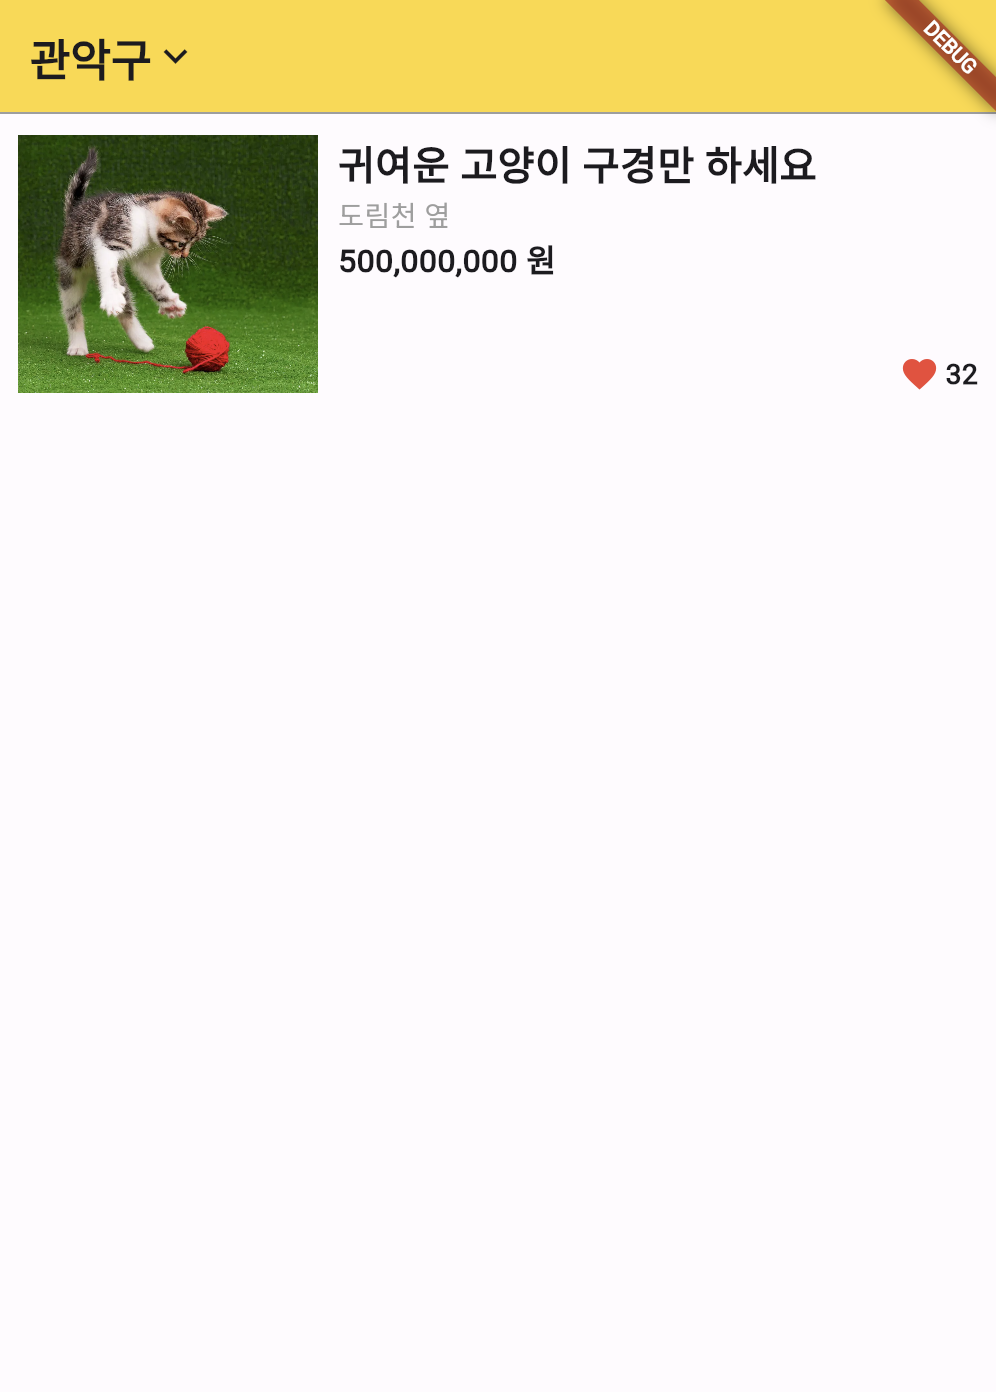
7. 리스트 아이템 만들기
return MaterialApp(
  home: Scaffold(
    appBar: AppBar(
      title: Row(
        mainAxisAlignment: MainAxisAlignment.start,
          children: [
            Text('관악구', style: TextStyle(fontWeight: FontWeight.w700)),
            Icon(Icons.keyboard_arrow_down)
        ],
      ),
      backgroundColor: Colors.amberAccent,
      bottom: PreferredSize(
        preferredSize: Size.fromHeight(1.0),
        child: Container(
          color: Colors.grey,
          height: 1,
        ),
      ),
    ),
    body: Container(
      height: 150,
      padding: EdgeInsets.all(10),
      child: Row(
        children:[
          Image.asset('cat-ball.jpg', width: 150, height: 150),
          SizedBox(width: 10),
          Expanded(
            child: Container(
              child: Column(
                crossAxisAlignment: CrossAxisAlignment.start,
                children: [
                  Text('귀여운 고양이 구경만 하세요', style: TextStyle(fontWeight: FontWeight.w700, fontSize: 20)),
                  Text('도림천 옆', style: TextStyle(color: Colors.grey)),
                  Text('500,000,000 원', style: TextStyle(fontWeight: FontWeight.w600, fontSize: 16)),
                  Expanded(
                    child: Row(
                      mainAxisAlignment: MainAxisAlignment.end,
                      crossAxisAlignment: CrossAxisAlignment.end,
                      children: [
                        Icon(Icons.favorite, color: Colors.red, size: 20),
                        SizedBox(width: 3),
                        Text('32', style: TextStyle(fontWeight: FontWeight.w600)),
                      ],
                    ),
                  ),
                ],
              ),
            ),
          ),
        ],
      )
    )
  )
);